|
When I started looking for an inexpensive PTO driven chipper, my local dealer wanted to sell a Wallenstein BXR60 with hydro feed for $5000. I felt this was a bit excessive, since one can find used Vermeer's (with a 20HP engine) for about half that. Heck, I only paid $1500 for a used Aspen 10" drum chipper (but that's another story...). My local dealer advised against the Chinese imports-- period. With the information found on tractorpoint.com (search for jinma chipper) and http://mysite.verizon.net/vze1nh79/ctoa/id28.html, I decided that the Jinma Chipper (with a few modification to fix some key problems) would do what I wanted for significantly less money. Tommy Laskowski (Affordable Tractor Sales Co. http://www.affordabletractorsalesco.com) was highly recommended by the folks on TractorPoint and I contacted him for his pricing and delivery charges. I asked him about some of the other vendors selling the same units on eBay-- his view is that they don't have the full set of parts and many have little more than spare blades. Since he has sold over a hundred of these in the last 6-7 months, he knows the product quite well. Tommy quoted $1,599.00 + $400 shipping to Minnesota, but his next shipment from the factory was going to have a $100 price increase. I was all set to order when I tripped across a no-reserve auction on eBay for the same unit. Coldwater Tractors, Inc. is a Washington-based importer of various Chinese products. Nikki was excellent in quickly answering my questions and providing shipping quotes. I happened to win the auction at a price I couldn't pass up. The unit was shipped quickly and Nikki handled all shipping arrangements. I had used USF Holland before (the branch of USF in my area) for heavy shop equipment, and they were always easy to work with. This time was no exception. One of the issues I noticed before purchasing one of these chippers was the lack of detailed information (and photos) of their design. There were plenty of good tips for improvements on TractorPoint, but most of the discussions assumed you had seen one of these machines first-hand. Hopefully, these photos and comments will provide some more information on this product and what to expect when it arrives.... You can click on any of the images for a larger version of the photo...
|
|
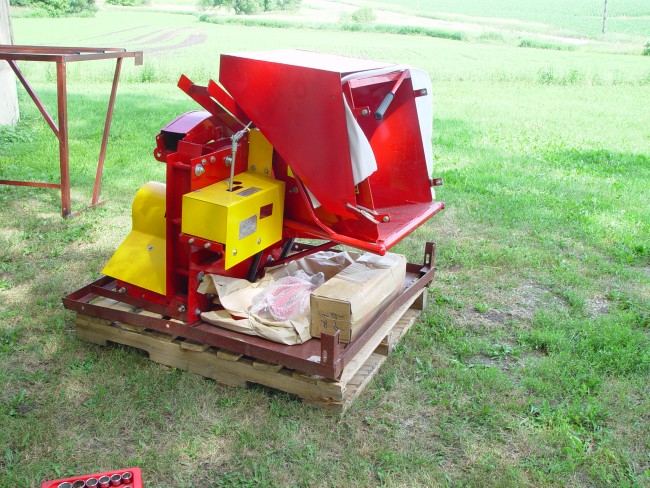
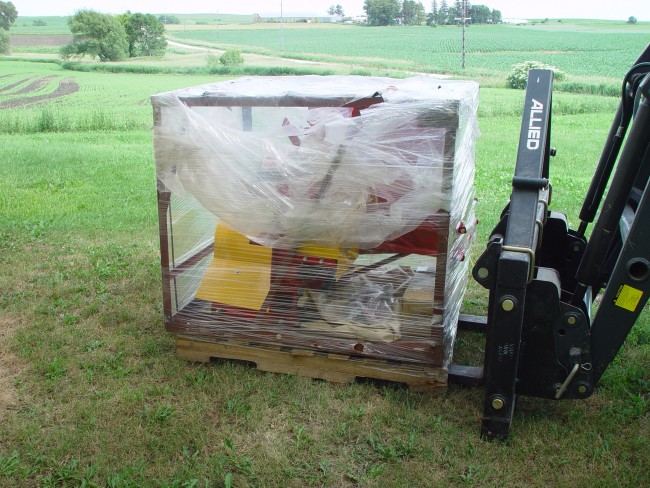 This is how the chipper arrived. The "crate" is welded angle iron. Expect to pay a premium for residential delivery. The shippment is quoted at 1000 lbs. |
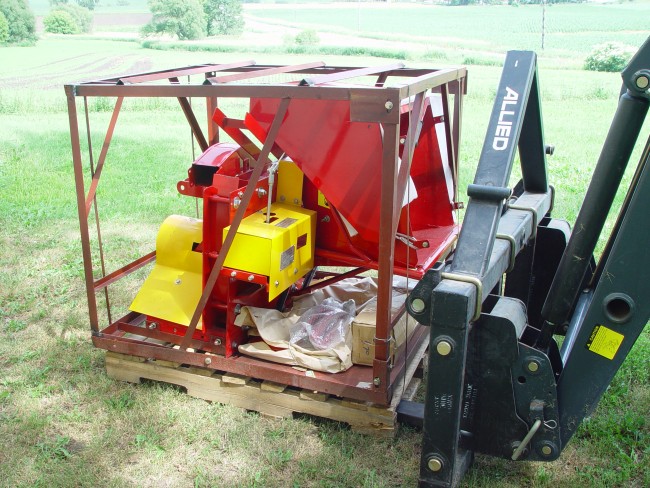 Here is what the crate looks like with the plastic removed. The PTO shaft, base and misc parts are on the bottom "shelf". The input hopper and the discharge chute are unassembled and tied in place for shipping. |
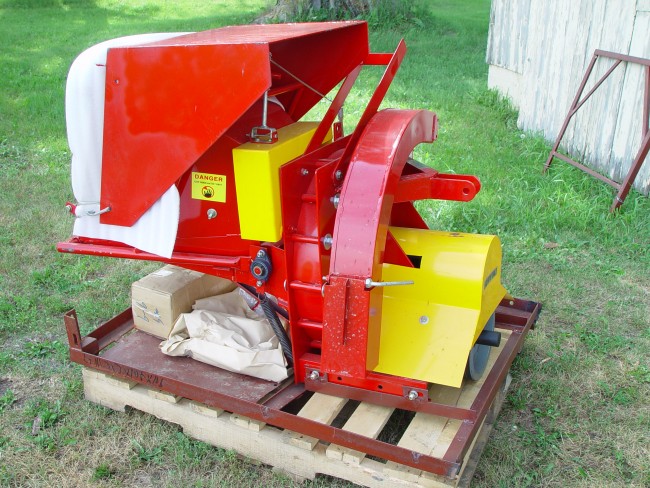
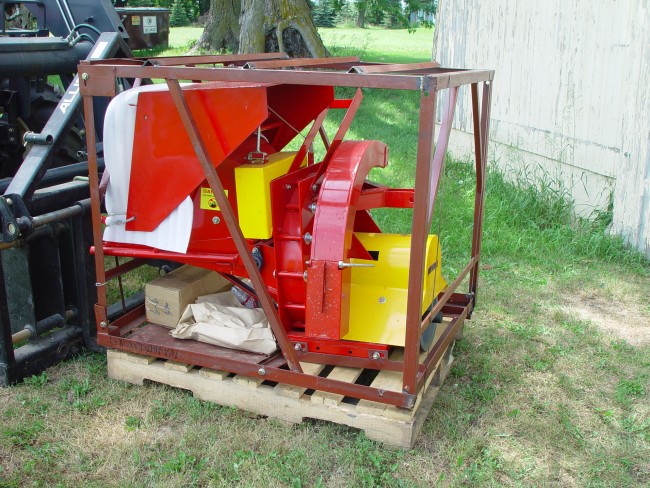 Same thing, other side view. |
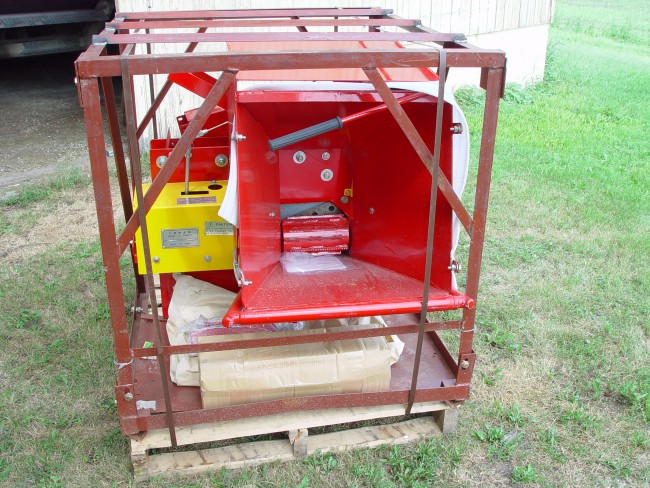
 These scratches were the result of testing at the factory (It still had wood chips in the machine)-- not due to poor packaging or mishandling during shipment. (If anybody figures out a good touch-up paint that matches, let me know!) |
 Notice the bolts at the corners of the crate. The two steel band hold the crate on the pallet. |
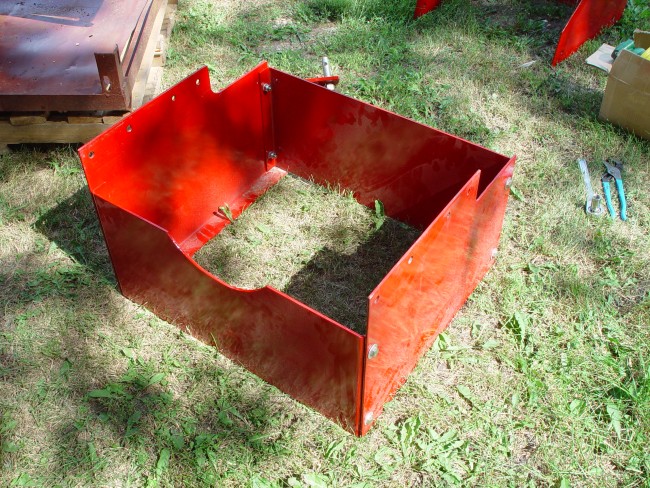
 This is with the end of the crate removed. The "cage" is in three parts: the end, the base and the top/sides. |
 The top/sides swing away (sitting in the background). The chipper is still bolted to the bottom frame. |
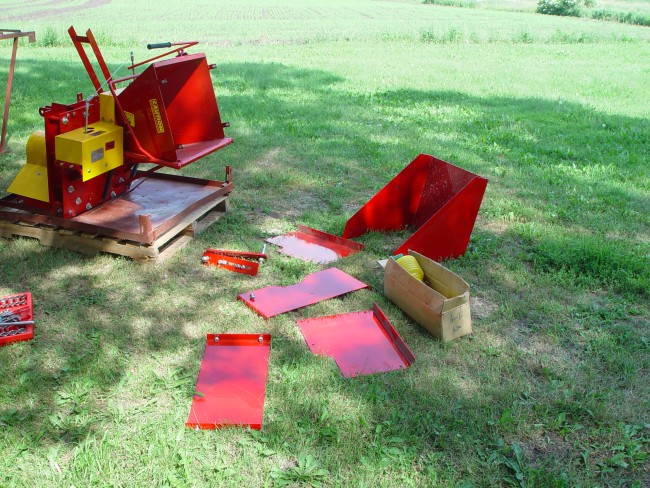
 This photo shows more of the detail of how the other parts are packaged. |
 After removing the bolt that held the discharge chute and the wires and padding that held the input hopper. |
 The PTO driveline is in the box, the parts that make up the base and the 3-point arms are shown in this photo. These parts were all packaged on the bottom shelf in the crate. |
 Another view. |
 This is the assembled base for the chipper. I was lucky-- one of nuts and bolts had come undone in shipping-- but it remained on the bottom on the crate. |
 This photo shows how much the frame crossmember has been bent during shipping due to the weight of the chipper. |
 An engine hoist (or in my case, a chain on the tractor forks) is invaluable to help in assembly. |
 Since the chipper doesn't hang perfectly level, I started the two large bolts on the left side first. |
 There are four bolts holding the base onto the chipper on each side. The two larger bolts attach the 3-point arm. Notice the ability to adjust the position of the 3-point lift pins. |
 Once you get the four large bolts installed, tip the chipper forward to be able to reach up from the bottom to install the other four bolts. |
 Here, you can see the inside of the chipper mounted on the base. |
 Another photo showing the chipper tilted forward (while heavy, it's not difficult to tip the chipper over or stand it up). |
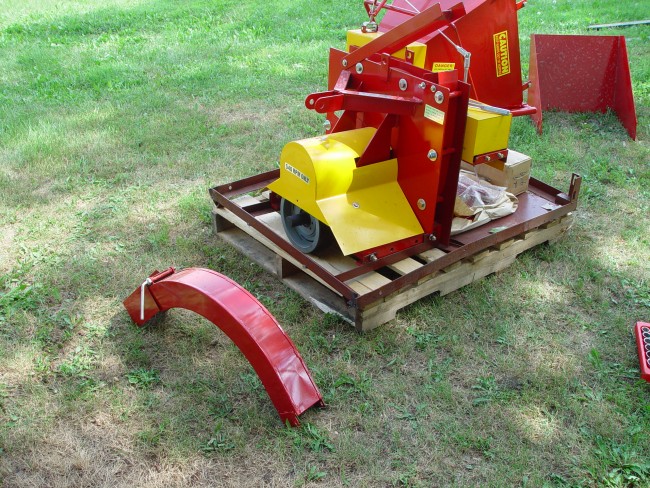
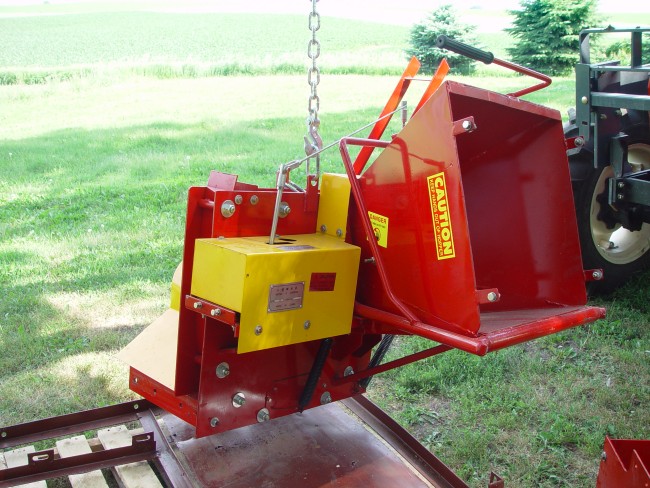
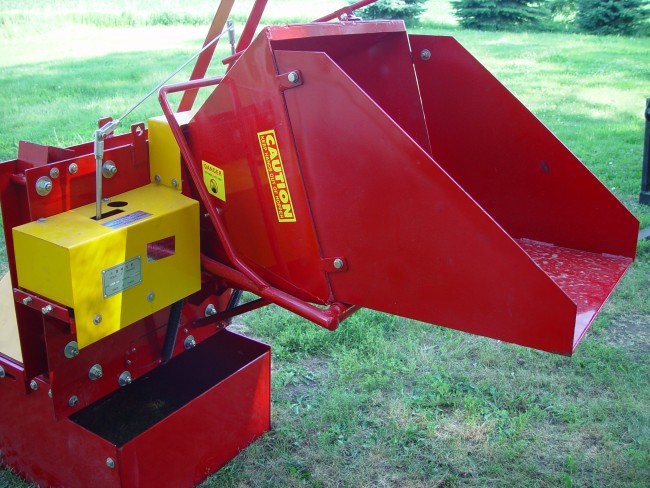
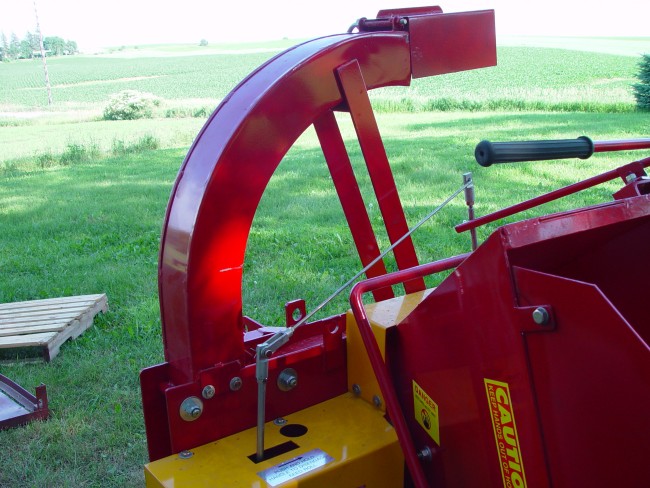
 This show the input hopper bolted into place. The feed roller and cutter disc are in the back. |
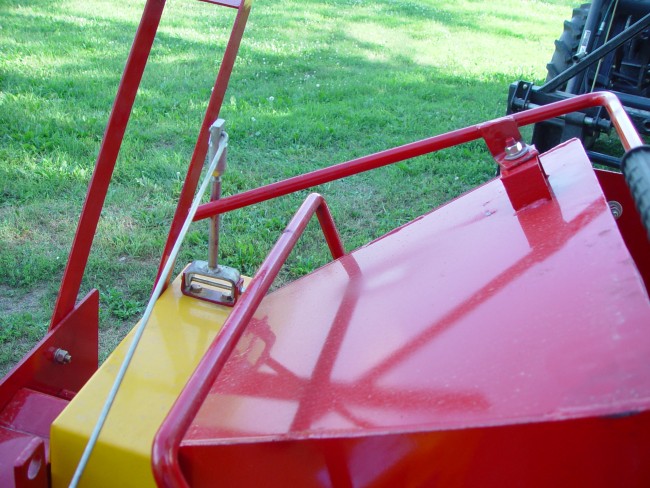 This photo shows the detail of the controls: The lever with the rubber grip puts the feed into neutral. The bar that goes over the top of the hopper lifts the feed roller by pulling to the right in this photo. |
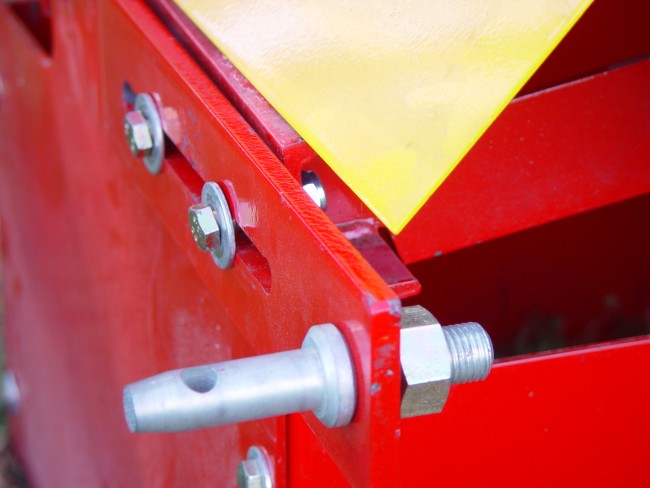
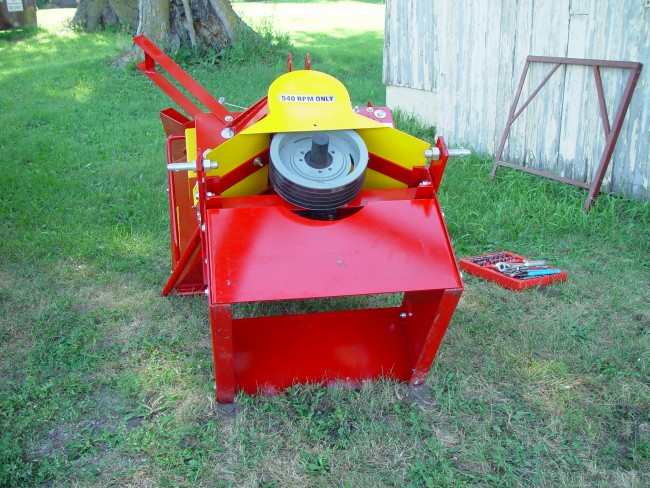
 Another view showing the controls. The belt drive and grearbox for the feed roller is housed under the yellow cover. |
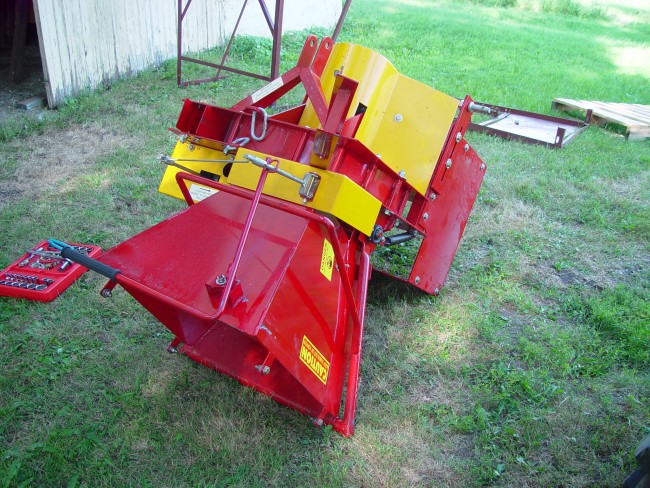
 The most difficult part of assembly is getting the four bolts holding the discharge chute aligned and started. The chute support bracket is strange-- it doesn't actually attach to the chute. |
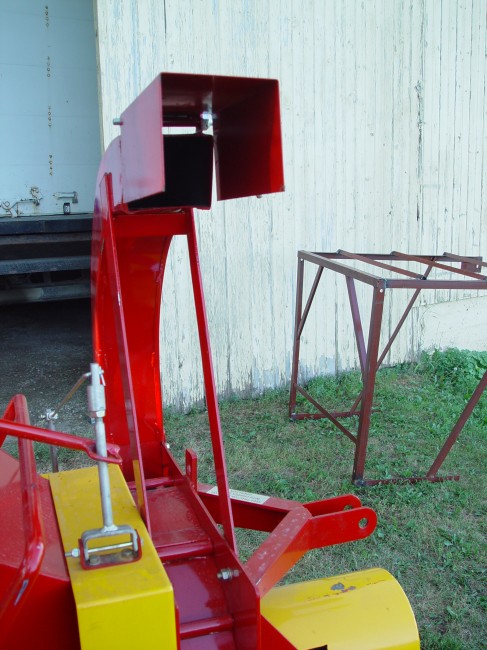 Another view of the chute support bracket. |
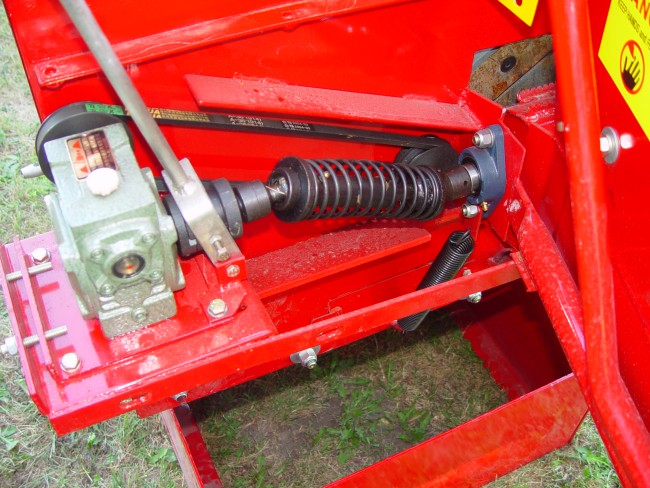 With the yellow cover removed, this is the feed-roller drive system. |
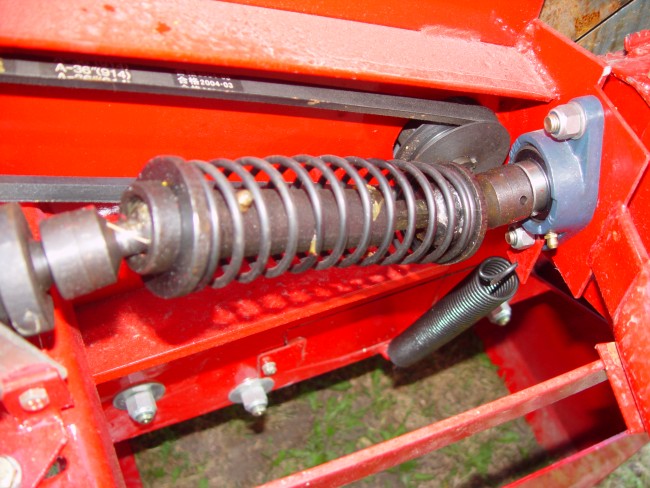 The feed roller travels vertically (to accomodate the thickness of the limbs being fed). This shaft with universal joints on each end causes the majority of complaints on the chipper. The shaft is held in place by the spring tension alone. (You can also see that the belt is an A-36.) |
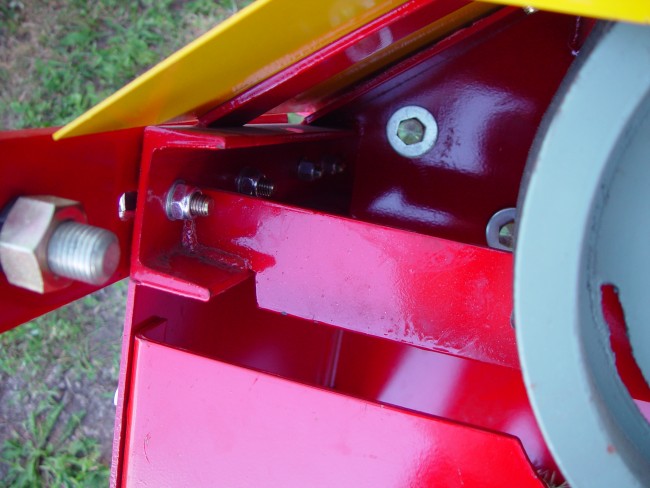
 This is the shaft removed from the feed mechanism. Note the two pre-drilled holes in each end coupling. |
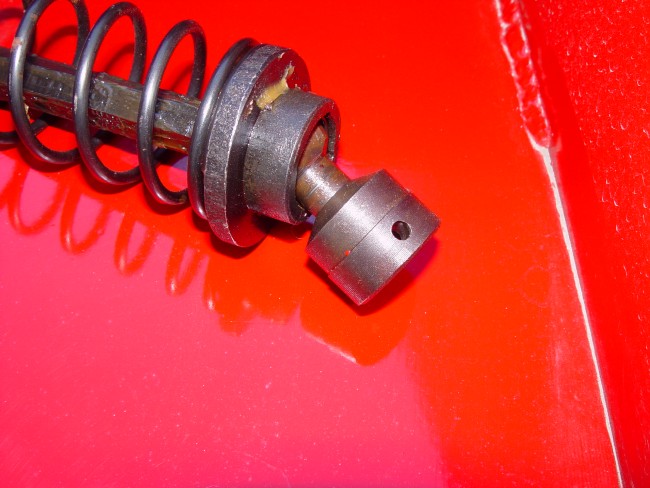 A close-up of the end coupling. Following the advice from TractorPoint, I threaded both of these for a 6mm x 10mm set screw. The set screw keeps the shaft from popping off and ruining the couplings. I also changed the oil in the gearbox prior to use. |
|
While I now have a completely assembled chipper, I have been unable to
use it (yet!). Most folks purchase this to be used on a 20-40HP Compact
Utility Tractor. The category 1 lift pins and the included PTO shaft work
well for these tractors.
In my case, I'm going to be using this with my Zetor 7340 (75 HP) tractor. I changed out the category 1 lift pins with cat 2 pins (no biggie), but the PTO included is too short. Additionally, the PTO on the tractor is much higher (10-12") than the PTO on the chipper. This means I will have to raise the chipper off the ground to keep the driveline straight (required unless you want to ruin both the chipper PTO and the tractor's PTO shaft). While I live in the middle of farm country, finding someone with the proper PTO shaft for sale proved to be a challenge. Additionally, with metric, SAE and the different manufacturers' numbering, it's difficult to even understand the differences in the sizes (ability to handle tractor HP) of PTO shafts.
My local dealer advised keeping the driveline straight
(within 15 degrees). This seems to fly in the face of the
reading I've done on the Internet where driveline angles can be more
forgiving if you use a CV-jointed PTO shaft rather than a traditional
U-jointed PTO shaft. In any event, the CV jointed shaft is almost $800,
so I don't think I'll experiment... :)
I think my dealer was a bit miffed that I didn't puchase his Wallenstein,
so his advice was a bit on the short side. Still, since I am a "hobby
farmer" and didn't grow up around tractors, I won't dismiss his fairly
conservative advice. He's been farming and selling tractors for most
of his life.
Hopefully, this information and photos shed light on this rather nice piece of equipment. Other than a few scratches in the paint, the chipper is well-made and with a few minor modifications, well designed. (The feed-roller lift also needs a foot bar described in the forums at TractorPoint.com, but I haven't added that modification yet...) As a side note, the assembly detailed here took less than 3 hours with one person. I had to make a couple trips to the store for the metric set screws, so they were installed the next day. Questions or comments these ramblings: crhea@rentaclue.com. --- Cris |
|